Utilizing Moisture Sensors to Increase Irrigation Efficiency

Related Articles
- 2010 Row Crop Short Course Video Links 0
- Key Corn Verification Findings 1
- What to Expect from Later than Normal Corn Planting 2
Latest Tweets
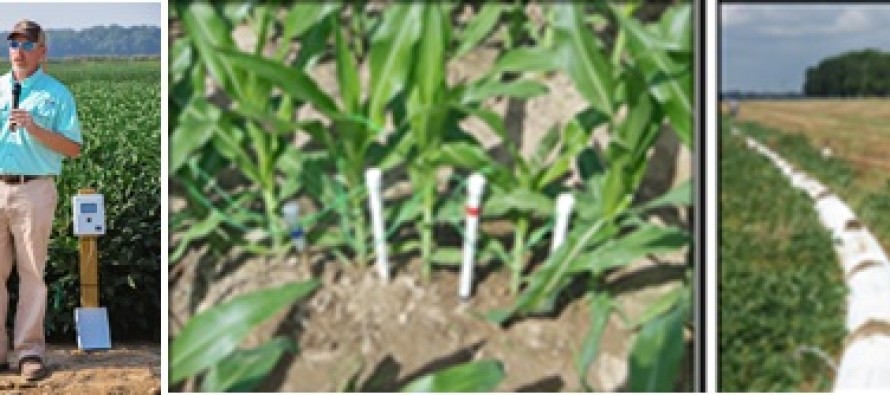
Utilizing moisture sensors to trigger an irrigation event is one method to increase irrigation efficiency. Using the “calendar” or the “neighbor” method of determining when to trigger an irrigation event is not the most efficient method. Soil moisture sensors are one tool that we can utilize to better assess soil moisture in the soil profile and schedule an irrigation appropriately.
The Watermark™ sensors are tension based sensors measuring field water holding capacity. The normal range of operation of the Watermark ™ sensors is from 0 to 200 cb, with 0 cb signifying a soil saturated with water, and 200 cb representing dangerously dry soil. We believe an appropriate irrigation trigger for our Mississippi soils should generally be from 80 cb to 100 cb, for our row crops based on field experience and research. Other factors, such as irrigation capacity or type, as well as crop growth stage may affect appropriate moisture level for scheduling irrigation. For example, we would suggest using a trigger point approximately 20 cb lower than the above values for older center pivots with limited capacity, compared to other irrigation systems.
Proper irrigation timing involves evaluation of the sensor values throughout the rooting zone. The rooting zone is defined as depth at which roots are utilizing water. If you have sensors placed 6, 12, and 24 inches deep within the soil profile, the initial readings immediately after installation may read much like this: 5, 3, and 0 cb. After a week of becoming acclimated to the soil conditions with no rainfall or irrigation events, the sensors may read 50, 40, and 0 cb. These fluctuating readings confirm the plants roots are utilizing water present at least 12 inches deep, but are not presently utilizing water beyond that depth. Although this effective rooting zone may change with time, in this example the entire rooting zone is in the top 12 inches of soil. Knowing that the rooting zone consists of the top 12 inches (100%) of the soil profile with a sensor at 6″ (50%) and one at 12″ (50%), calculating the irrigation initiation trigger is quite easy. As the effective rooting zone moves deeper, we must use an appropriate factor depending on the spacing between sensors at different depths.
Following are three different examples for your review.
In the first example, the rooting zone is only 12 inches, so calculations are only based on the 6 and 12” sensors. Each sensor reading is multiplied by 50% and the sum total is an average moisture value of 45 cb.
In the second example, the rooting zone is 24 inches, so calculations are based on readings at 6, 12 and 24” sensors. The sensor readings at 6 and 12” are multiplied by 25% (since each accounts for 25% of 24”) and the 24” reading is multiplied by 50% (since it represents 12” of a total 24” rooting zone). The sum total or average moisture value for this second example is 59 cb.
In the third example, the rooting zone is 36 inches, so calculations are based on all four sensors. The sensor readings at 6 and 12” are multiplied by 16% (since each account for 17% of 36”) and the 24 and 36” readings are multiplied by 33% (since each represents 12” of a total 36” rooting zone). The sum total or average moisture value for this third example is 56 cb.
Assuming an initiation trigger of 80 cb, none of these three examples justify triggering an irrigation event at this time.


Let me tell You a sad story ! There are no comments yet, but You can be first one to comment this article.
Write a comment